

Videos are now among the most important formats on Instagram, TikTok and YouTube. Yet many people believe they first have to invest in an expensive camera or professional equipment.
In practice, that is often not necessary at all. Users on social media don't expect commercials. They want to see content that feels authentic, is explained clearly and offers real value. In most cases, a modern smartphone is all you need.
That doesn't mean professional camera equipment is superfluous. High-end productions still have their place, for example for corporate films, ad campaigns or product videos. For many Reels, however, the idea behind them matters more than the technology.
With the following tips, you'll get the most out of your smartphone and make your videos look more professional – without making things unnecessarily complicated.
The right camera settings
Before you start filming, take a quick look at your smartphone's camera settings. Many devices already deliver excellent results, provided the settings are right.
For Reels and TikTok videos, Full HD (1080p) is perfectly sufficient in most cases. Since the platforms compress videos anyway, recording in 4K often brings no visible gain in quality. If you plan to crop your video heavily or zoom in later, though, 4K can still be worth it.
When it comes to frame rate, 30 frames per second (30 FPS) is a good choice for almost all content. If you want to capture fast movements or use slow motion later, you can film at 60 FPS instead.
Another tip: turn on the 3x3 camera grid in your smartphone's settings. This makes it much easier to frame people straight and to leave enough room for subtitles and text overlays.
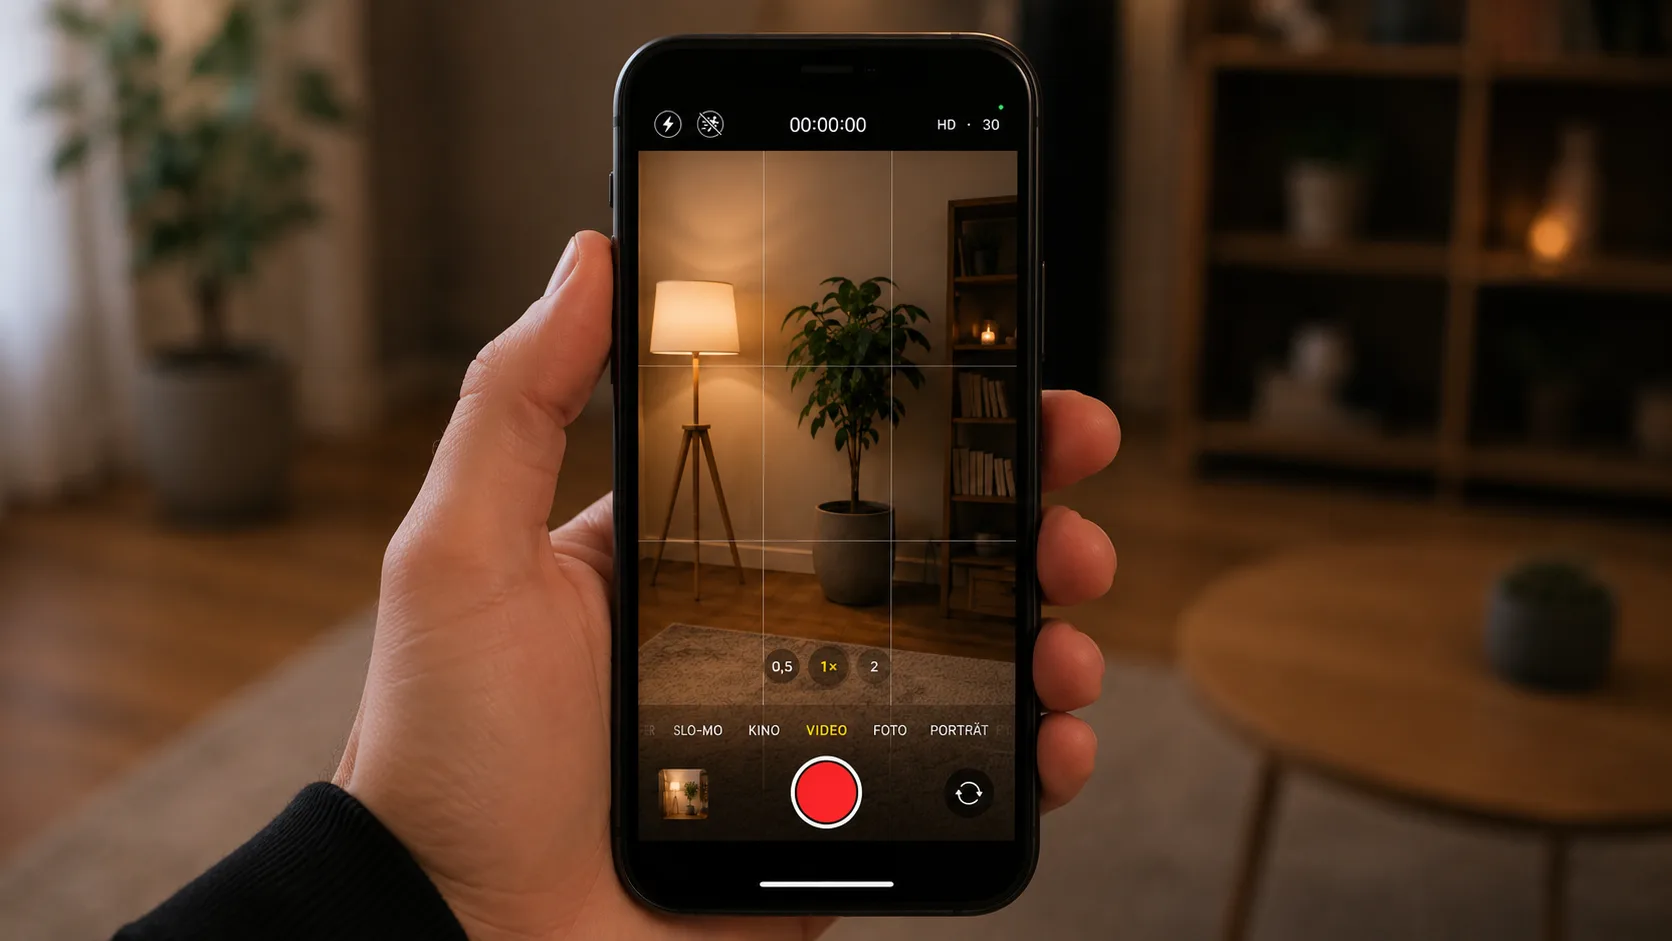
Follow the so-called rule of thirds: place your eyes along the upper horizontal grid line if possible and position yourself slightly to the right or left of the center of the frame. This creates a balanced composition while leaving enough room for subtitles or graphic overlays without covering important parts of the image.
Avoid using your smartphone's digital zoom whenever possible. Unlike an optical zoom, it merely enlarges the image section, which means details get lost and the video looks blurry more quickly. If you can, take a step closer to your subject instead or use another fixed focal length of your smartphone camera.
1. Clean the camera lens before every shoot
It sounds trivial, but it's often forgotten.
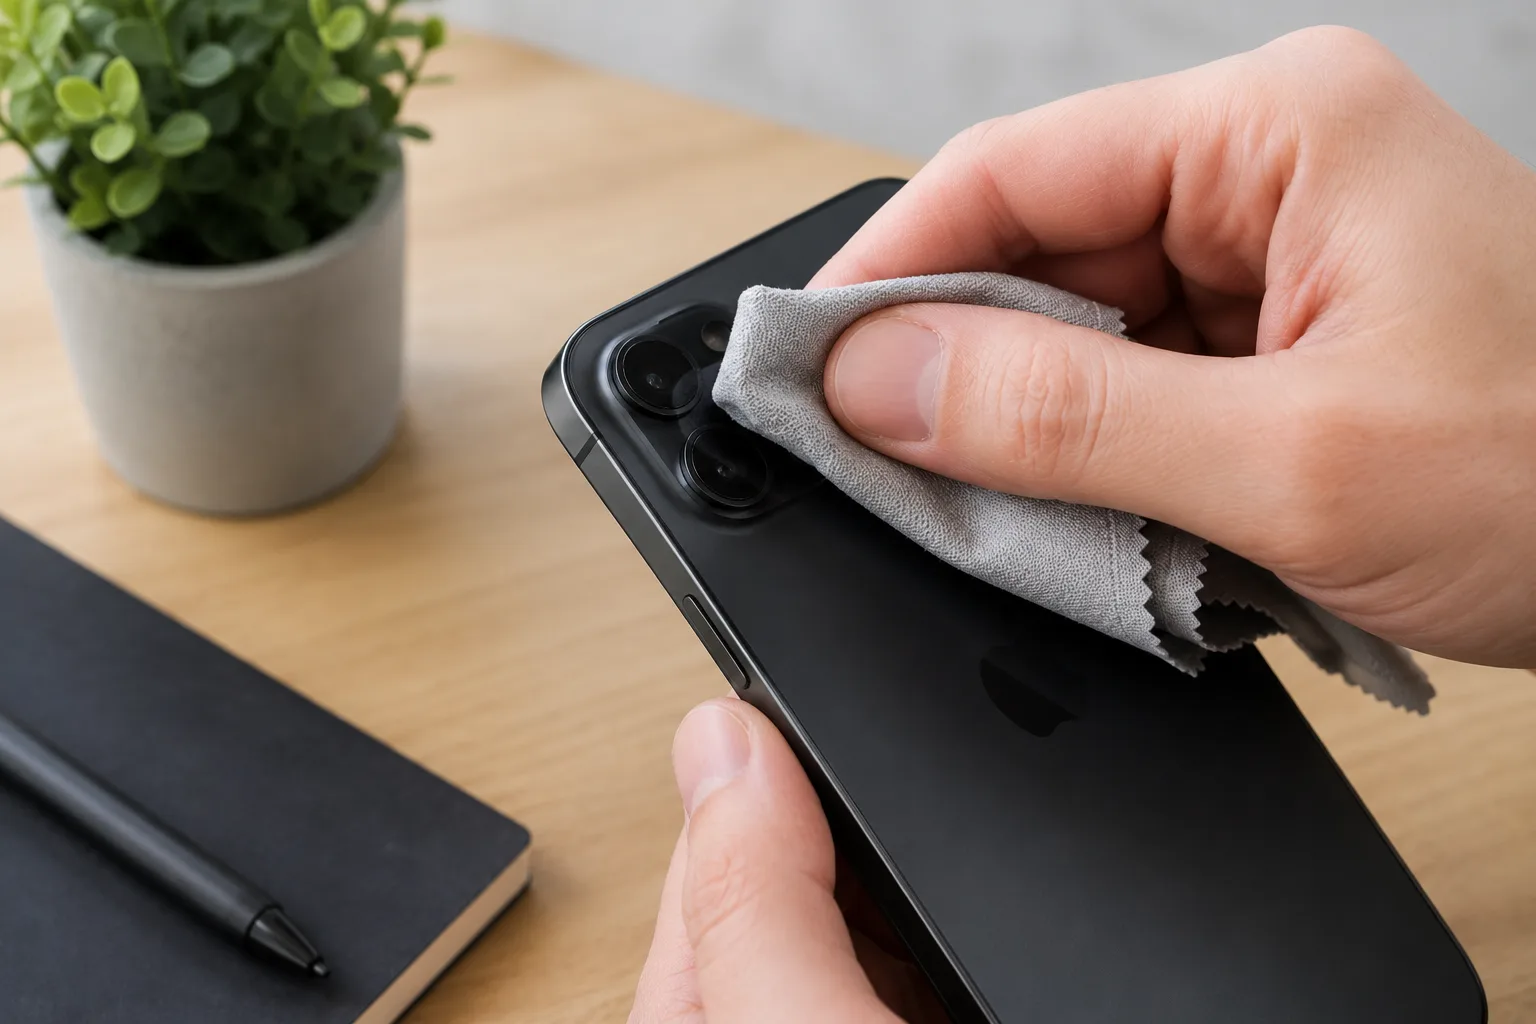
Even a small fingerprint on the lens is enough to make videos look blurry or slightly hazy. Before you start filming, quickly clean the camera lens with a microfiber cloth or a clean piece of cotton. This little step takes just a few seconds and instantly improves image quality.
2. Use natural light whenever possible
Light often has a bigger impact on how an image looks than the camera itself.

If possible, film near a window or outdoors in the shade. Natural light creates pleasant colors and even skin tones. Try to face the light while filming. If you film directly in front of a window, your background will often be correctly exposed while your face looks much too dark.
3. Look into the camera lens
Many people watch themselves on the screen while recording. For viewers, however, this quickly looks unnatural because your gaze slightly misses the lens.
Instead, try to look directly into the camera lens. This creates the impression of a direct conversation – and that is exactly what builds closeness and attention.
4. Plan your Reel before the shoot
Not every successful Reel happens spontaneously.
Think in advance about which topic you want to cover, what your opening will look like and which scenes you need. A short shot list helps you keep track and prevents important shots from going missing. Also plan where subtitles, text overlays or a call to action will appear later. That way, you can choose your framing accordingly while filming and avoid important areas being covered up later.Especially when you produce several videos in a row, this saves you a lot of time.
5. Film several short sequences and add variety in the edit
Many Reels feel more dynamic when they consist of several short clips. Instead of recording an entire video in one take, film different perspectives and shots and put them together later.
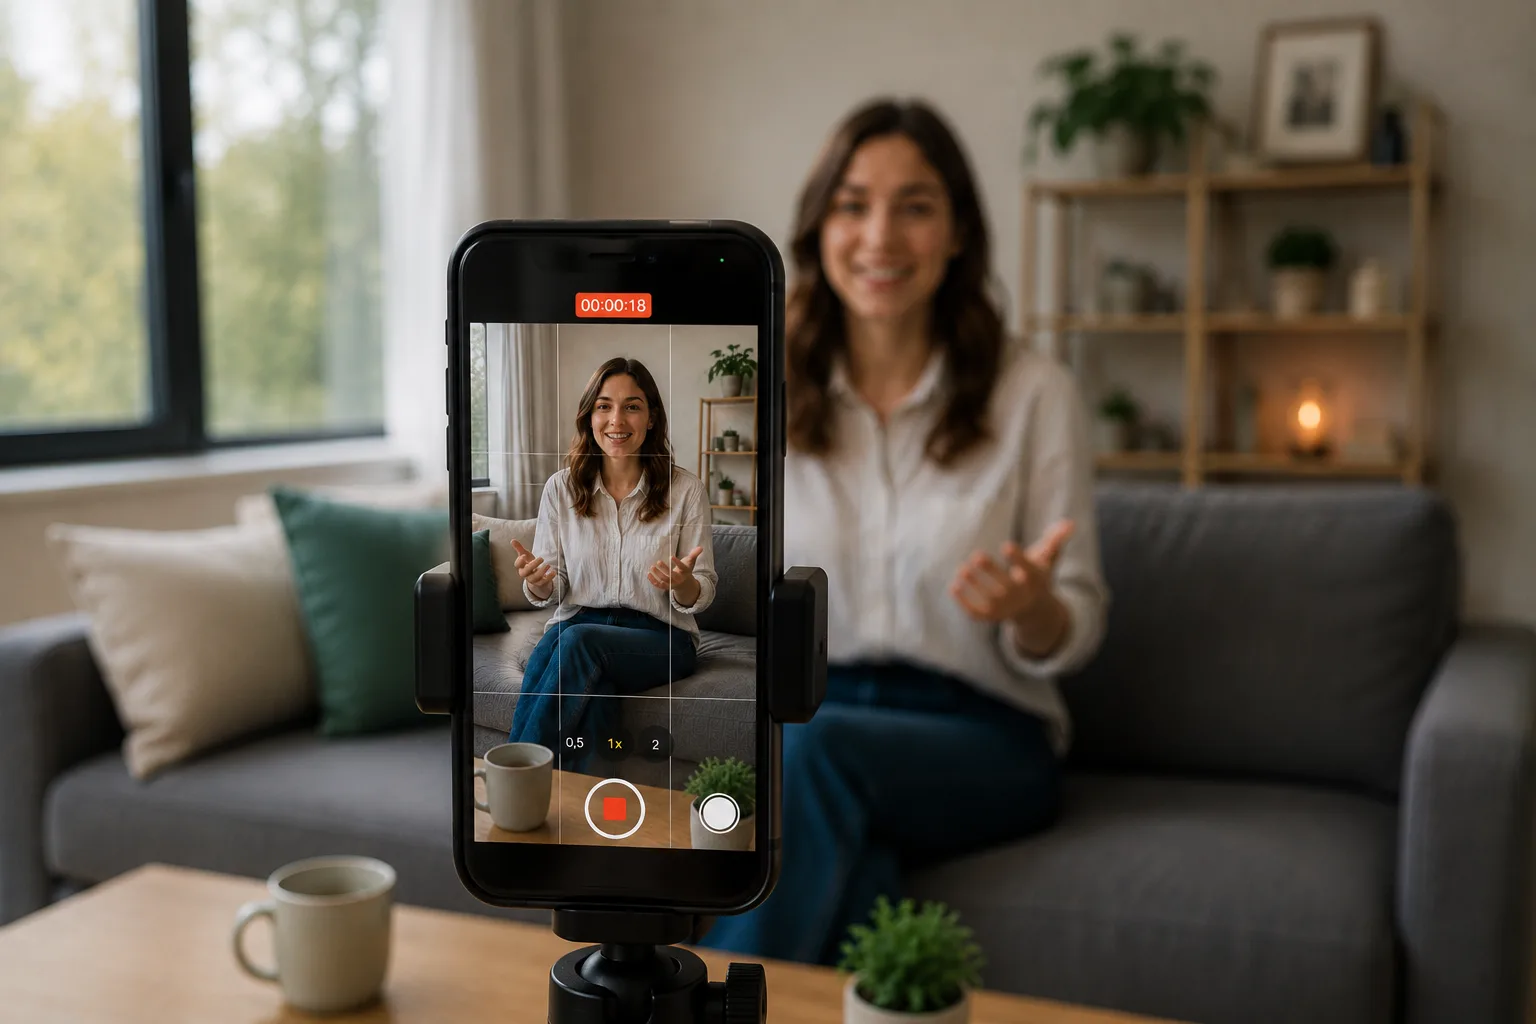
This brings variety to your Reel and gives you far more options when editing. At the same time, slips of the tongue or small mistakes are easier to hide without having to re-record the whole video.
A common editing mistake is cutting several shots with the same framing directly one after another. This quickly feels static, even if the content changes.
Instead, combine different shot sizes. For example, switch from a medium long shot to a close-up or from a detail shot back to the person.
Tip: Let each shot run a little longer
Many people stop recording right after they've said their sentence or performed the desired movement. As a result, they often lack crucial leeway when editing.
So let each scene start two to three seconds earlier and run two to three seconds longer than you actually need. That way, you can place cuts cleanly later, make transitions smoother and don't have to worry about words or movements suddenly being cut off.
6. Record plenty of B-roll
B-roll is supplementary footage that supports what you're saying. This can be detail shots, screen recordings or short scenes from your everyday work.
Plan a few extra sequences, even if you don't end up using all of them. When editing, you'll often be glad to have additional material to make transitions smoother or bridge longer pauses in speech.
7. Bad audio is noticed faster than a bad picture
A slightly dark image is often forgiven. Bad audio, on the other hand, immediately looks unprofessional.
If you record Reels regularly, it's worth investing in a small clip-on microphone. Alternatively, choose a recording location that is as quiet as possible and do a short test recording before the actual shoot. That way, you'll spot background noise or echo early on.
Tip: Choose music deliberately
Music influences the mood of a Reel more than many people think. It should support the content, not distract from it.
Companies should also make sure they only use music for which they hold the appropriate usage rights. Many songs from the Instagram or TikTok music library are not available to business accounts, or only to a limited extent. So use licensed music or the tracks that are officially offered to you within your account.
8. Subtitles are standard today
Many users watch Reels on the go or without sound. Subtitles help make your content understandable anyway and improve accessibility at the same time.
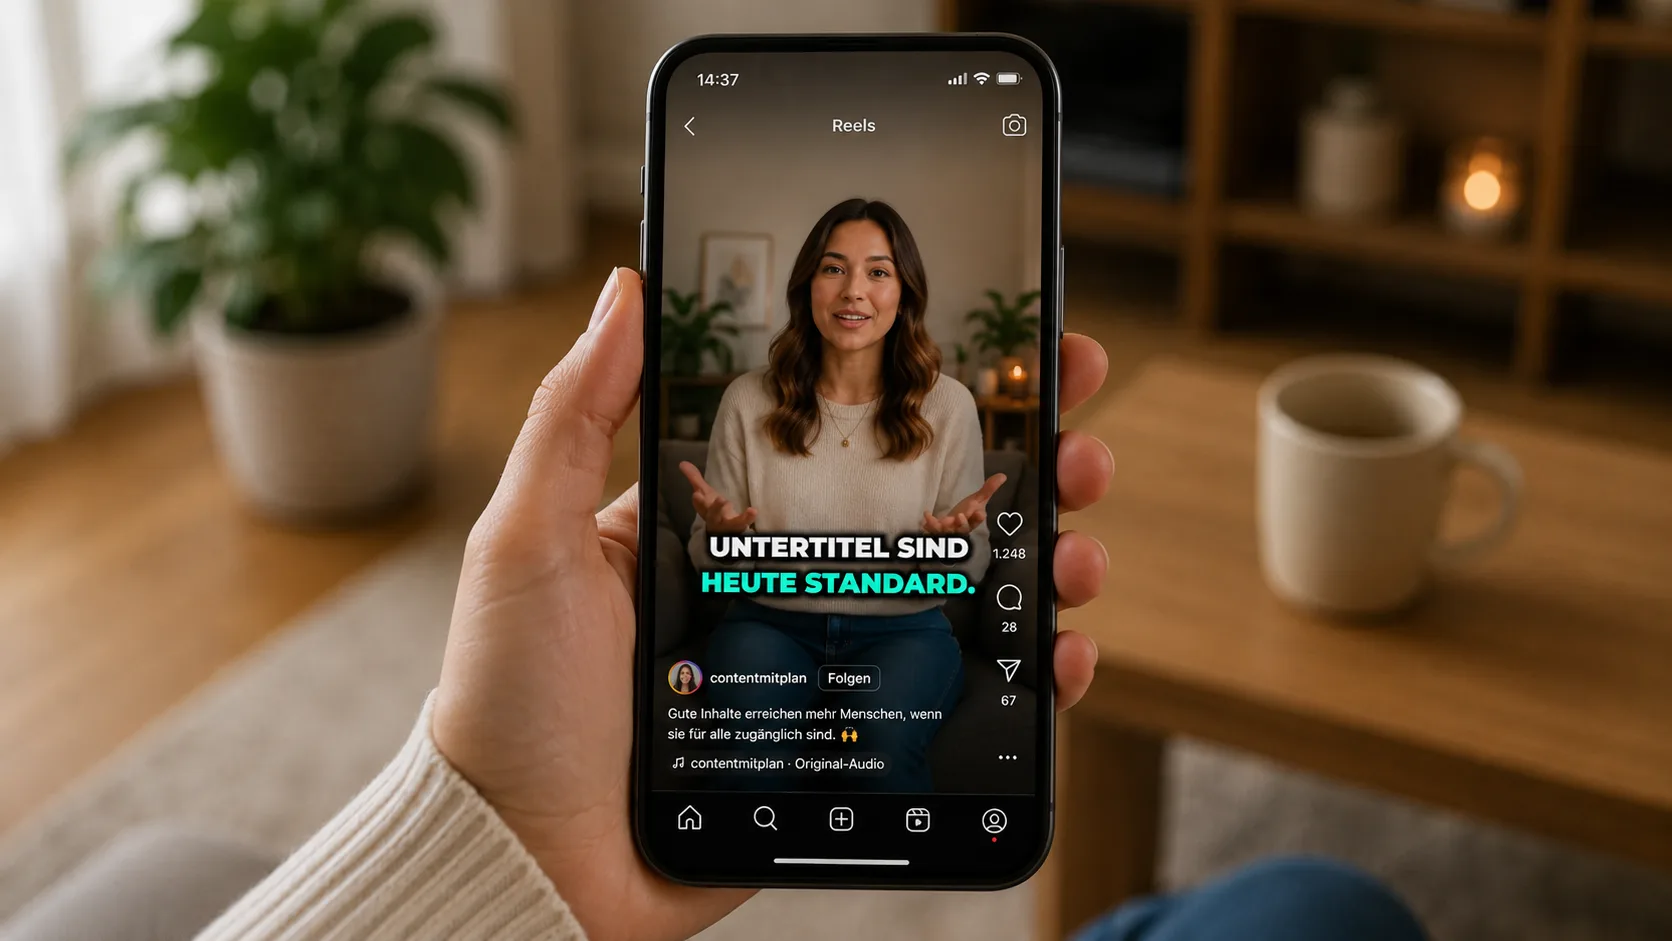
Make sure to place subtitles and text overlays within the so-called safe areas. At the top and bottom of a Reel, for example, Instagram displays profile information, captions or controls. If your text sits too close to the edge, it may be partially covered.
Automatic subtitles can be created directly in Instagram or TikTok, for example. If you're looking for more design options, you can use apps like CapCut or professional editing software such as Adobe Premiere Pro.
Always check the subtitles again afterwards. Proper names or technical terms are often misrecognized by automatic transcription.
9. Export your video in the right quality
After editing, the export determines how your Reel will look on Instagram or TikTok.
We recommend the following settings:
- Portrait format (9:16)
- 1080 × 1920 pixels
- H.264 as the video format
- High export quality
10. Good Reels start with good preparation
A professional-looking Reel rarely happens by chance. Often, the preparation already determines how efficiently the shoot goes and how easily the footage can be edited later.
So think in advance about what goal your Reel is pursuing, what the opening should look like and which shots you really need. A simple shot list helps you work in a structured way and avoids unnecessary reshoots.
This is exactly where Matelify supports you. Together with you, the Mates develop topic ideas, hooks and scripts that suit your target audience. From these, you can then create shot lists and captions, so you know exactly which scenes you want to record before the shoot even starts.

After publishing, the Insights help you track how your posts develop over freely selectable time periods. This shows you which Reels perform particularly well and which topics spark lasting interest in your community. On this basis, you can develop future content in a targeted way.
Want to plan your Reels in a more structured way? Then sign up for free at Matelify and discover how our Mates support you from the first idea to the finished caption.
Checklist: Before every Reel shoot
Before you hit record, you can quickly check these points once more:
☐ Full HD (1080p) and a suitable frame rate set
☐ Camera grid turned on
☐ Camera lens cleaned
☐ Battery charged and enough storage space available
☐ Good lighting chosen
☐ Calm background checked
☐ Audio tested
☐ Hook and shot list prepared
☐ Enough B-roll recorded
☐ Video exported in high quality